The Ultimate Guide to Using an iPad for Taking “Paperless” Notes (My Full Workflow)
For years, my desk was a graveyard of notebooks, stray Post-it notes, and half-filled binders. Meetings, lectures, brainstorming sessions – each left a physical trail of information, often scattered, rarely revisited, and almost impossible to search. The idea of “paperless” seemed like a distant dream, a fantasy for the truly organized. Then, the iPad entered my life, and everything changed. What started as an experiment to reduce clutter has evolved into a meticulously crafted, highly efficient digital note-taking system that has fundamentally transformed how I capture, organize, and interact with information. This isn’t just about ditching paper; it’s about building a dynamic, searchable, and infinitely flexible knowledge base.
In this guide, I’m pulling back the curtain on my exact workflow, from the hardware and software I swear by to the specific techniques I employ daily. Whether you’re a student drowning in textbooks, a professional juggling multiple projects, or simply someone yearning for a more streamlined approach to information, you’ll find actionable insights to help you build your own robust paperless system.
My Digital Toolkit: The Essential Gear and Apps Powering My Paperless System
Before diving into the “how,” let’s talk about the “what.” A successful paperless workflow hinges on reliable hardware and intuitive software. After experimenting with various devices and applications, I’ve settled on a core setup that offers the perfect blend of performance, flexibility, and user-friendliness.
The Hardware Backbone: iPad Pro and Apple Pencil
My primary device is an iPad Pro (currently the 11-inch model). The larger screen real estate compared to standard iPads makes a significant difference for split-screen multitasking and detailed note-taking. The Liquid Retina display is a joy to write on, offering a paper-like feel, especially with a matte screen protector (more on that in a moment). Crucially, the iPad Pro’s powerful processor ensures that even large notebooks with many pages or complex PDF annotations remain snappy and responsive.
The Apple Pencil 2nd Generation is non-negotiable. Its precision, low latency, and magnetic attachment/wireless charging make it feel like a natural extension of my hand. The double-tap gesture for switching between pen and eraser is a small detail that dramatically speeds up my workflow. For an even more “paper-like” writing experience, I use a matte screen protector. While it slightly dulls the screen, the added friction and reduced glare are worth it for the improved writing feel.
The Heart of My System: Goodnotes 5 (and its role)
Among the myriad note-taking apps, Goodnotes 5 has emerged as the undisputed champion for my workflow. Its intuitive interface, robust feature set, and excellent handwriting recognition are unparalleled. Here’s why it’s my go-to:
- Unrestricted Canvas: I can write anywhere on the page, just like a physical notebook.
- Powerful Organization: Folders, subfolders, and customizable notebooks keep everything tidy.
- PDF Annotation: Seamlessly import PDFs (lectures, articles, contracts) and annotate them directly with the Apple Pencil.
- Handwriting Search: This is a game-changer. Goodnotes can search my handwritten notes, making finding specific information incredibly easy.
- Customizable Templates: I create or import my own templates for meeting notes, daily planners, or project outlines.
- Built-in Shapes Tool: Perfect for quick diagrams and flowcharts without needing a ruler.
Supporting Players: My Auxiliary Apps
- Apple Notes: For quick capture of fleeting thoughts or short shopping lists. It syncs instantly across all my Apple devices, making it incredibly convenient.
- Files App / iCloud Drive: This is where all my raw documents, PDFs, and exported notes reside. iCloud provides seamless syncing and backup across all my devices, ensuring I always have access to my files. I also use it for shared folders with colleagues.
- Evernote (for long-term archiving/research): While Goodnotes is for active note-taking, Evernote serves as my digital filing cabinet for web clippings, research articles, and anything I might need to reference later. I often export key Goodnotes pages as PDFs and send them to Evernote for long-term storage and cross-referencing with other digital assets.
From Idea to Ink: My Real-Time Note-Taking Tactics on the iPad
Now that we’ve covered the tools, let’s get into the actual process of capturing information. My approach is designed for speed, clarity, and future retrievability, whether I’m in a fast-paced meeting, a detailed lecture, or simply brainstorming.
Setting Up My Digital Notebooks and Pages
Before any session, I ensure I have the right “notebook” ready in Goodnotes. My structure is hierarchical:
- Main Folders: Organized by broad categories (e.g., “Work Projects,” “Personal Development,” “Client X”).
- Subfolders: Within each main folder, I create subfolders for specific projects, courses, or topics.
- Notebooks: Inside the subfolders, individual notebooks are created. For example, within “Work Projects,” I might have a “Q3 Marketing Campaign” notebook.
- Templates: Each notebook starts with a specific template. For meetings, I use a custom template with sections for attendees, agenda, action items, and next steps. For general notes, I prefer a simple dotted or grid template for flexibility.
This organized structure is critical. It eliminates the “where did I put that note?” panic and ensures I can jump straight into taking notes without fumbling.
My Approach to Active Note Capture
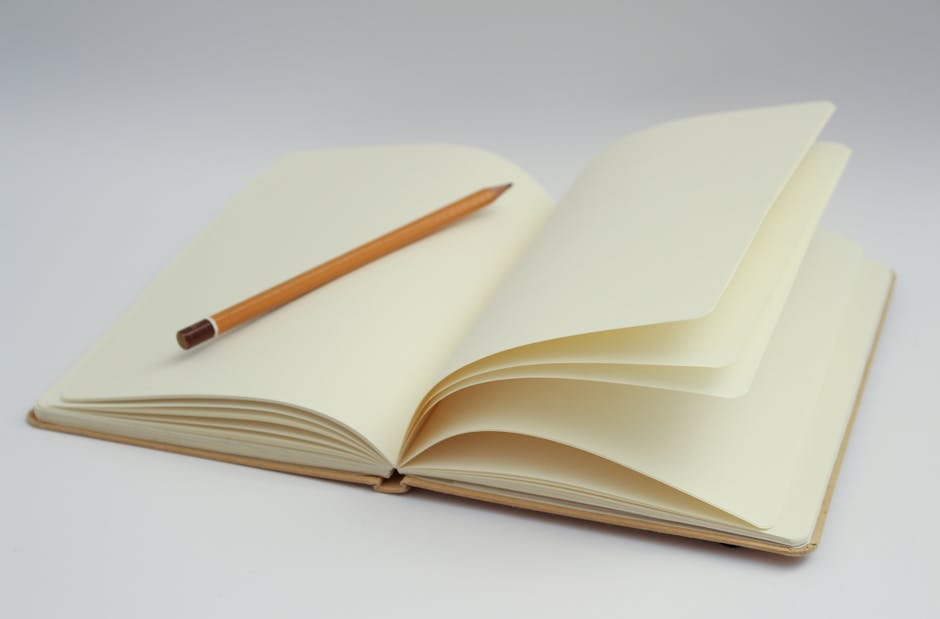
I almost exclusively use the Apple Pencil for handwriting. While Goodnotes offers a typing tool, the act of handwriting aids memory retention and allows for greater flexibility in layout (drawing arrows, circles, diagrams). Here’s how I tackle different scenarios:
- Lectures/Meetings: I use a fine-tipped pen (usually black or dark blue) for core notes. Key points, action items, or things to follow up on are highlighted with a bright color (yellow or green). I leave ample whitespace for adding details later.
- Brainstorming: For free-flowing ideas, I often switch to a blank page template. I use different colors to group related thoughts or draw mind maps. The lasso tool is fantastic here, allowing me to move, resize, or copy entire sections of handwritten notes.
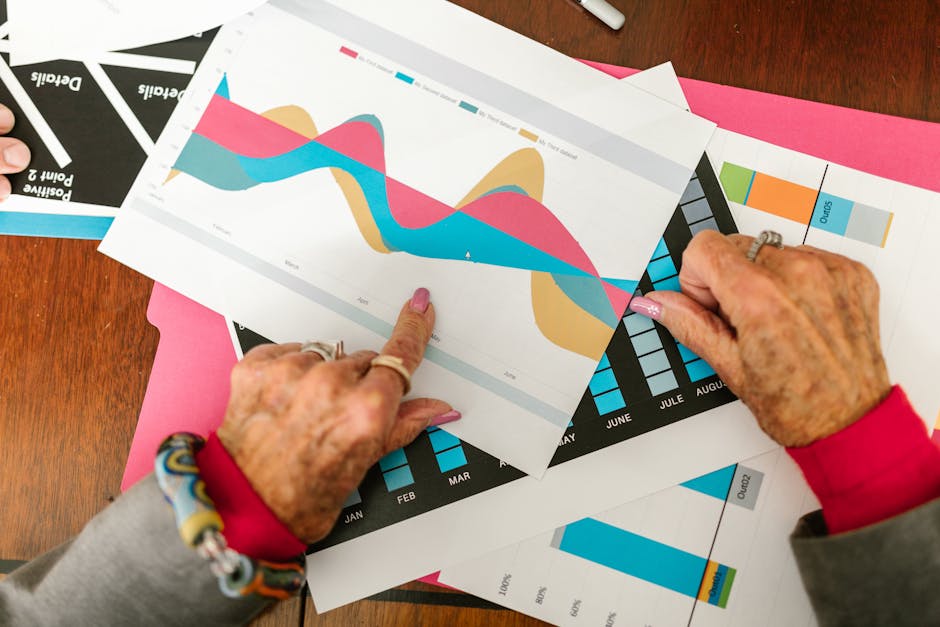
- Reading/Research (PDF Annotation): This is where the iPad truly shines. I import articles, textbooks, or reports directly into Goodnotes. I highlight key sentences, underline important concepts, and add handwritten margin notes. I use the “Summary” page at the end of a document to jot down main takeaways and questions, making it easy to recall information later.
- Quick Sketches & Diagrams: The shapes tool in Goodnotes is a lifesaver. I can quickly draw perfect circles, squares, and lines for flowcharts or conceptual diagrams, enhancing my visual notes without needing to be an artist.
I make it a habit to jot down the date and context (e.g., “Team Sync – Project Alpha”) at the top of every new page. This small detail significantly improves searchability and organization later on.
Beyond the Page: Structuring and Storing My Digital Knowledge Base
Capturing notes is only half the battle. The true power of a paperless system lies in its ability to organize, search, and retrieve information effortlessly. My workflow extends far beyond simply writing on the screen.