For years, PowerPoint was my default. It was the industry standard, the tool everyone used, and frankly, the only option I seriously considered for crafting presentations. But the truth is, I dreaded opening it. Every new project felt like an uphill battle against clunky interfaces, inconsistent formatting, and a surprising lack of inspiration. My slides often ended up looking generic, amateurish, and far from the professional polish I envisioned. Then, I discovered Canva. This isn’t just another design tool; for me, it was a complete paradigm shift in how I approach presentations. In this post, I’m going to share my journey, detailing exactly how I now create professional-looking presentations using Canva, and why I decisively ditched PowerPoint for good.
The Drag of PowerPoint: My Breaking Point with Traditional Software
My relationship with PowerPoint wasn’t one of love, but rather a reluctant necessity. I remember countless evenings spent wrestling with its quirks, trying to force my vision into its rigid framework. The interface, while familiar, always felt dated and unintuitive. Simple tasks, like aligning objects or ensuring consistent font sizes across slides, became frustrating time sinks. I’d spend more time fixing formatting issues than focusing on my actual content or message.
Fighting for Visual Consistency and Modern Aesthetics
One of my biggest gripes was the struggle to achieve a truly modern and cohesive look. PowerPoint’s built-in templates often felt stale, and customizing them was a painstaking process. I’d download free templates online, only to find them riddled with hidden elements or difficult-to-edit layers. Achieving a professional aesthetic, one that truly reflected my brand or the sophistication of my message, felt like an endless battle. My presentations often looked like a patchwork of different styles, rather than a unified, impactful story.
Then there was the issue of collaboration. Sharing files, dealing with different versions, and the dreaded “font not found” errors when colleagues opened my presentations on their machines – it all added layers of complexity and wasted precious time. The final straw often came when I needed to quickly adapt a presentation for a new audience or platform. The effort required to reformat and resize elements felt disproportionate to the task, reinforcing my growing conviction that there had to be a better way.
Discovering Canva’s Potential: My First Steps Towards Professional Slides
My initial foray into Canva was hesitant. I’d heard it was great for social media graphics, but presentations? Could it really compete with the perceived robustness of PowerPoint? What I found was a breath of fresh air. The interface was immediately intuitive, clean, and inviting. It felt less like a piece of software and more like a creative playground. The drag-and-drop functionality, the vast library of assets, and the immediate visual feedback were exhilarating.
My first few presentations in Canva weren’t perfect, but they were a significant improvement. I started by exploring its extensive template library, which immediately stood out from PowerPoint’s offerings. These weren’t just pretty backgrounds; they were thoughtfully designed layouts with integrated visual hierarchy, modern typography, and cohesive color palettes. This was where I started to see how I could genuinely achieve that “professional look” without being a graphic designer myself.
From Template Selection to Custom Brand Integration
Instead of starting from a blank, intimidating canvas, I began with a well-designed template that resonated with my topic or brand. This wasn’t about blindly sticking to a pre-made design, but rather using it as a strong foundation. I quickly learned to customize every element: swapping out images, adjusting colors to match my brand guidelines, and choosing fonts that conveyed the right tone. Canva’s Brand Kit feature (a Pro subscription perk) was a game-changer, allowing me to upload my logos, set my brand colors, and pre-select my preferred fonts, ensuring every new presentation automatically adhered to my visual identity. This level of effortless brand integration was something I could only dream of in PowerPoint.
My Blueprint for Polished Presentations: Leveraging Canva’s Design Toolkit
Achieving a professional look in Canva isn’t just about picking a nice template; it’s about understanding and utilizing its powerful design features effectively. Here’s my step-by-step approach that consistently delivers polished, impactful slides:
Crafting Visual Narratives with Purposeful Elements
- Strategic Template Customization: I don’t just use templates; I adapt them. I look for layouts that support my content structure, then I meticulously adjust colors, fonts, and imagery. For example, if a template uses bold, sans-serif fonts, I’ll stick with that aesthetic but might swap out the specific font to one from my brand kit. I pay close attention to the existing visual hierarchy and try to maintain it, only making changes that enhance clarity.
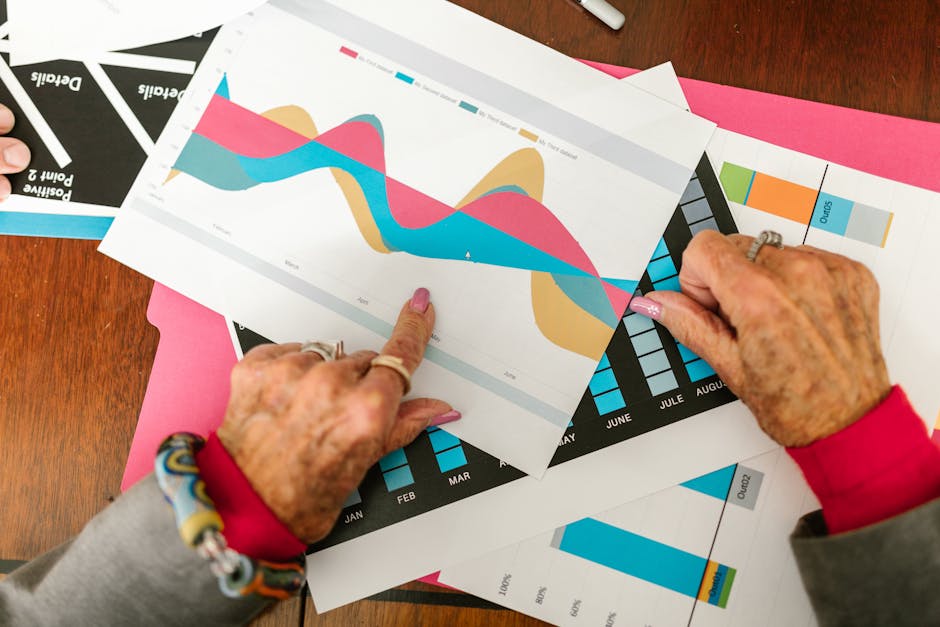
- Harnessing High-Quality Visuals: Generic stock photos are a no-go. Canva’s extensive library of photos, illustrations, icons, and videos is incredible. I prioritize visuals that are relevant, high-resolution, and align with the overall mood of my presentation. I often use the “Magic Recommendations” feature to find visually similar elements, ensuring a cohesive look across all slides. This instant access to professional-grade graphics eliminates the need to scour external sites, saving immense time.
- Mastering Typography and Color Palettes: This is where professionalism truly shines. I stick to 2-3 complementary fonts – one for headings, one for body text, and perhaps an accent font. I ensure sufficient contrast between text and background for readability. Canva’s color picker allows me to use hex codes for precise brand colors, and the “Style” tab can instantly apply a new color palette to an entire presentation, making global changes effortless. This attention to detail in typography and color is crucial for a polished finish.
- Thoughtful Layout and Spacing: Clutter is the enemy of clarity. I meticulously arrange elements, ensuring ample whitespace around text and visuals. Canva’s alignment guides are incredibly helpful for positioning objects precisely. I often employ the “group” feature to move multiple elements together, maintaining their relative positions. This focus on clean, balanced layouts ensures my message is easy to digest and visually appealing. For more on this, I often refer to general design principles for non-designers.
Beyond Aesthetics: How Canva Streamlined My Entire Presentation Workflow
Ditching PowerPoint wasn’t just about making prettier slides; it was about transforming my entire presentation creation process. Canva has introduced efficiencies and capabilities that PowerPoint simply couldn’t match, making my workflow smoother, faster, and far more collaborative.
The Collaborative Edge and Cloud-Based Freedom
One of the most significant advantages is Canva’s cloud-based nature. I can access and edit my presentations from any device, anywhere. No more worrying about saving to a specific hard drive or emailing files back and forth. This seamless accessibility is a game-changer for someone who works across multiple locations and devices.
Collaboration has also become incredibly straightforward. I can share a presentation with colleagues or clients, granting them editing or viewing access. We can leave comments directly on slides, make real-time adjustments, and see changes instantly. This eliminates version control nightmares and speeds up feedback cycles dramatically. It’s like having a shared workspace where everyone is literally on the same page, fostering effective storytelling through slides as a team.
Efficiency Gains and Time Savings
The sheer speed at which I can now create and iterate on presentations is astounding. From finding the right visual to applying consistent branding, Canva automates or simplifies many tasks that used to consume hours in PowerPoint. Its vast library means I spend less time searching for assets, and its intuitive interface means less time wrestling with software. This efficiency allows me to focus more on content development and less on technical execution, ultimately leading to more impactful presentations delivered faster.